Sindri Scripts for Remix Integration
This tutorial will walk you through the process of setting up your Remix project to work with Sindri, enabling you to leverage Sindri's proof generation API to enhance your development in the browser. Let's get started!
Introduction to Remix and Sindri
Remix IDE is a powerful development environment for Ethereum smart contracts, offering an intuitive interface for creating, testing, and deploying contracts. Sindri is integrated into Remix to provide a seamless experience for circuit development and proof generation, enabling you to compile circuits and generate proofs directly from the Remix environment. Familiarize yourself with Remix, Cirom, and Sindri to leverage their full potential:
Obtain & Configure Your API Key
If you have not already obtained a Sindri API key, you will need to do so before proceeding with the integration.
Interaction with the Sindri API requires an API key. Follow these steps to obtain a Sindri API key and configure it in your Remix environment:
- Create a Sindri Account: Sign up here!
- Generate Sindri API Key: Once you have created an account, consult the Access Management Guide for detailed instructions on generating your API key.
- Configure Sindri API Key in Remix: As shown below, you can access the Settings panel within Remix IDE by clicking the gear icon in the bottom-left corner. Navigate to the Sindri Credentials section, enter your API key in the Token field, and click Save.
Create a New Circom Template Workspace & Load Sindri Scripts
To start, we will create a new workspace in Remix with a pre-loaded Circom template.
Let's begin by first opening the File Explorer tab in the top-left corner. Then, click the Hamburger Menu button (Workspace actions) in the top-left corner of the editor and then the + Create icon.
In this tutorial we will select the Hash Checker template.
You may name the workspace anything you like or just leave it as the default.
When you are ready, click OK.
This will populate your File Explorer on the left with several files, including the calculate_hash.circom circuit and a README.md, which contains more information about the Hash Checker circuit.
After creating a new workspace, load the Sindri scripts into your project by clicking the Hamburger Menu button in the top-left corner of the editor.
Then, select the Add Sindri ZK scripts file from the file explorer.
This will add several files to your workspace.
Additionally, it will open up a Docgen Viewer file that contains detailed instructions for how to use Remix with Sindri.
For this tutorial, you may skip reading this and refer to it later if desired.
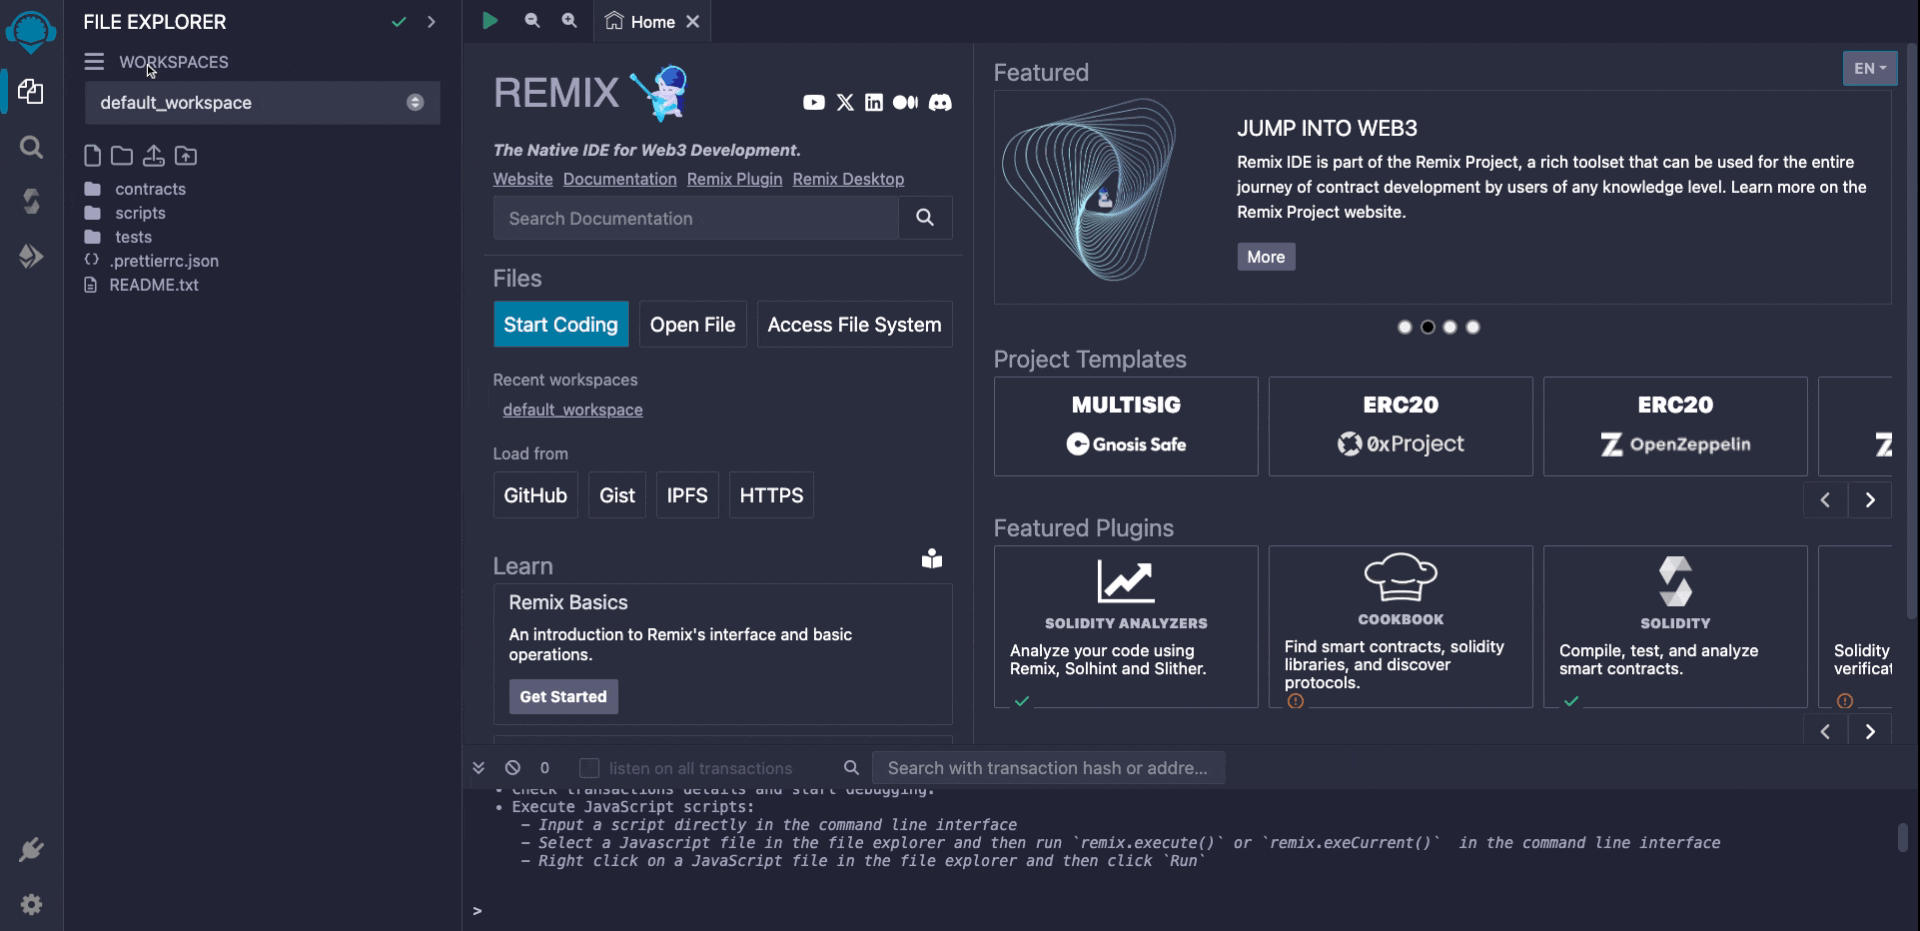
Creating a new workspace in Remix.
You may choose any template that suits your needs.
Later on in this tutorial, we include the sample inputs for this Hash Checker template specifically, so you may need to adjust the inputs to match your circuit's requirements.
Customize & Get to Know Your sindri.json File
In the file explorer on the left, open the sindri.json file.
For this tutorial, you do not need to edit any of the values.
The sindri.json file is a project manifest that Sindri uses to understand your project structure.
It may require customization to accurately reflect your project's specifics:
-
Project Name (
name) acts as a unique identifier. Note that it auto-detects the name of your project when you first create it. However, you may change it to match your project's identity if you so choose. -
Circuit Entry Point (
circuitPath) specifies the main.circomfile. In Circom, a main file is typically namedcircuit.circomthough that is not a requirement. This will require updating if your project structure changes or you build more advanced circuits. -
Schema (
$schema) tells the editor where to fetch rules for thesindri.jsonfields. Try editing thecurvefield name to saycurve2. The editor will show a warning that the propertycurve2is not allowed.
Adjust Your .sindriignore
In the file explorer on the left, open the .sindriignore file.
For this tutorial, you do not need to edit any of the values.
The .sindriignore file, which is similiar to .gitignore or .dockerignore, lets you exclude certain files or directories when deploying your circuit to Sindri.
Modify this file to optimize deployment and exclude unnecessary or sensitive information.
Compile Your Circuit
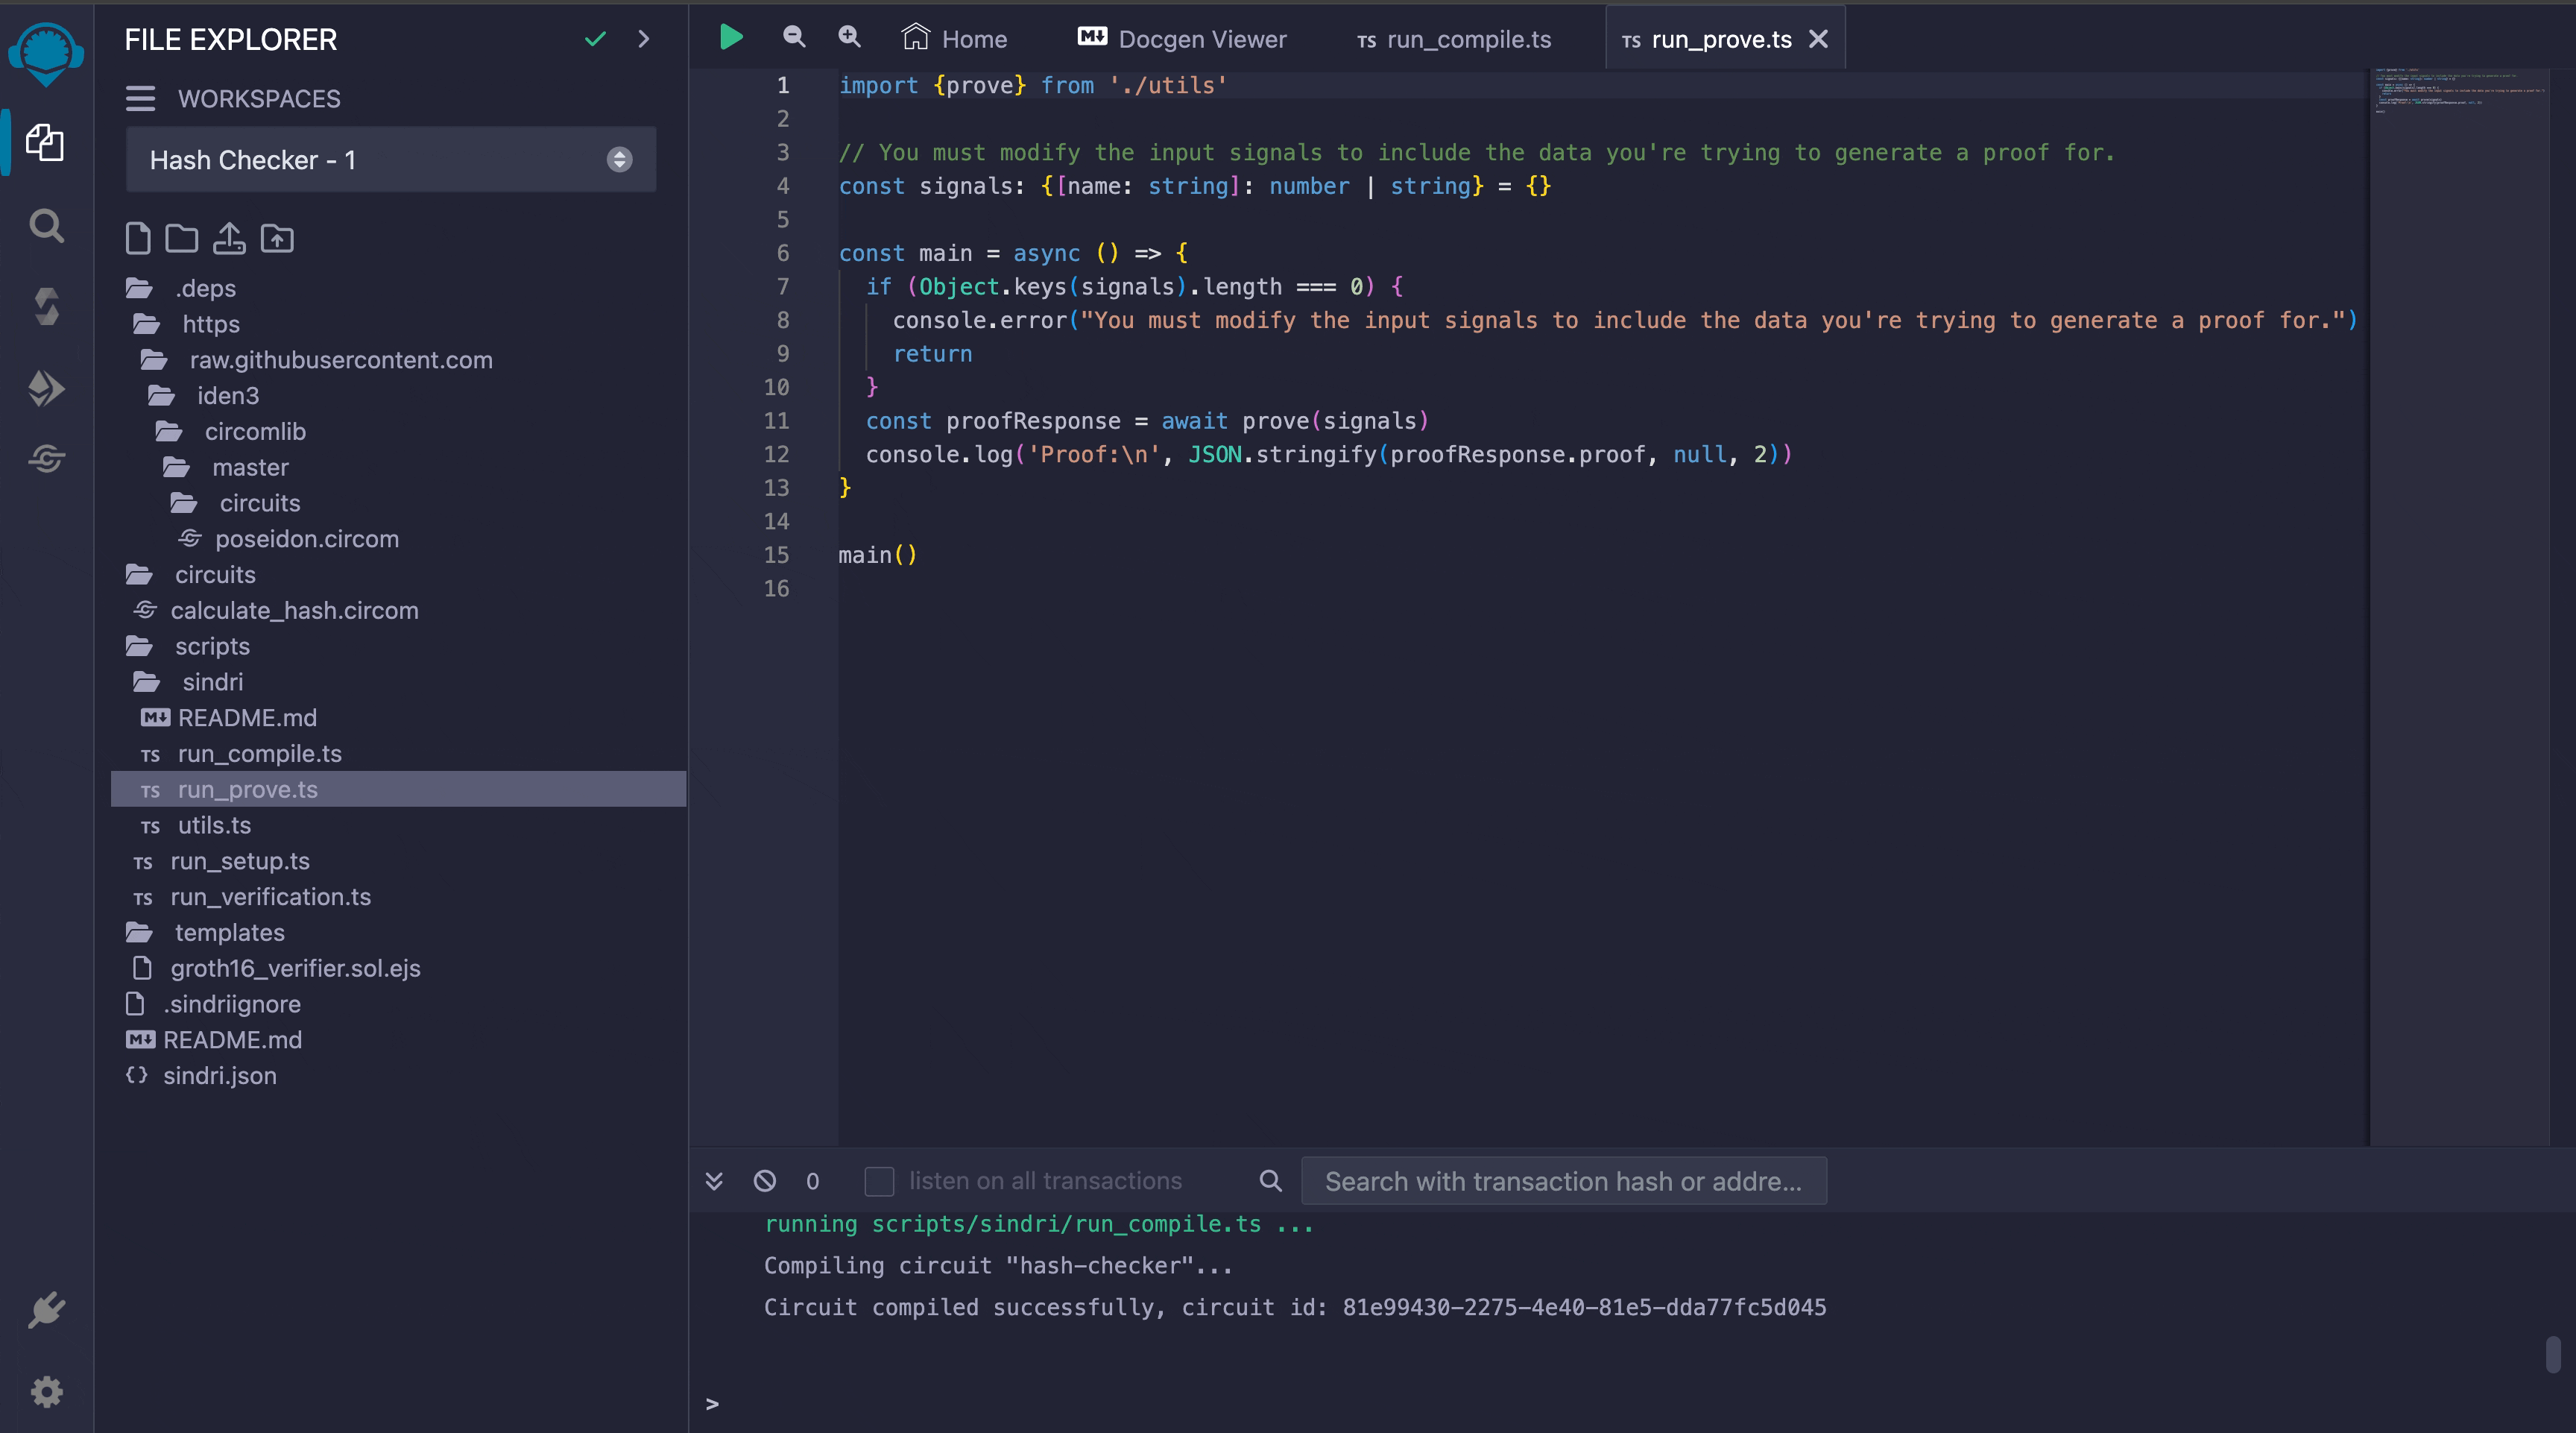
To compile your circuit, run the scripts/sindri/run_compile.ts script.
Open the script from the File Explorer.
Then, either click the Play button icon in the upper left corner of the editor panel or press CTRL + SHIFT + S.
Successful compilation will be indicated in the console as shown below, with the circuit being tagged in Sindri as latest by default.
Note that you must have the script opened as the primary file in the editor to run it.
Compiling circuit "hash-checker"...
Circuit compiled successfully, circuit id: 81e99430-2275-4e40-81e5-dda77fc5d045
Compilation may take a few seconds; it depends on the complexity of your circuit. Sindri performs a mock trusted setup to generate proving and verification keys.
If you would like to use alternative tags for your circuit, you can modify the script to pass an array of tags to the compile() function call in the script.
We recommend starting out with the default of latest as you're getting started, and then moving towards tighter tag management once you're closer to productionalizing your circuit.
Generate a Proof
Once you've compiled your circuit, open the scripts/sindri/run_prove.ts script, which we will use to generate a proof.
You'll first need to modify this file to pass in the input signals that you would like to generate a proof for when calling prove(signals) (see Circom's Signals & Variables documentation if you need a refresher on circuit signals).
Towards the top of the script, you'll see where the signals variable is defined.
const signals: { [name: string]: number | string } = {};
You'll always need to modify the signals object in the scripts/sindri/run_prove.ts script. This maps your circuit's signal names to the values you would like to generate a proof with.
If the signals aren't set correctly, then you'll get an error when you try to generate a proof, so make sure you don't skip this step.
Replace the const signals: { [name: string]: number | string } = {} line in the scripts/sindri/run_prove.ts script with the following (Hash Checker circuit) signals:
const signals: { [name: string]: number | string } = {
  value1: 1,
  value2: 2,
  value3: 3,
  value4: 4,
  hash: '18821383157269793795438455681495246036402687001665670618754263018637548127333',
};
While the scripts/sindri/run_prove.ts script is open in the editor, click the Play button icon or press CTRL + SHIFT + S to run the script and generate a proof!
Output
Proving circuit "hash-checker"...
Proof generated successfully, proof id: 75d844db-ee6f-46a2-b9de-44e281bfe989
Proof:
{
  "pi_a": [
    "3317776555546618983339604990978616576875312330518290240541745179231627254010",
    "19886520579657968586005525907460269134974724373126087490536190382276129266344",
    "1"
  ],
  "pi_b": [
    [
      "9889673630483421968898936100970353568713562202341150439853318627315381607126",
      "15354727227802622483941837521031619573092855937230282186474777294663406231248"
    ],
    [
      "3702253916755306849656913414614807233600069453748861763377168296939870126973",
      "17169121045605459775919120203404669350322722882925250457995527173902515366877"
    ],
    [
      "1",
      "0"
    ]
  ],
  "pi_c": [
    "19800188394297646176544374931101882888659869427332951246328583848622562530152",
    "12269671211276823925703867142738451635248671900466418907274845317124134916563",
    "1"
  ],
  "protocol": "groth16"
}
This output contains the proof that your circuit computed the correct output for the given inputs without revealing the inputs themselves. The proof consists of several large numbers that, together, satisfy the verification equation of the ZK proof system (in this case, Groth16).
Utilize the Generated Proof
After generating a proof, you can use it (copy it from the Remix terminal) with your applications or smart contracts to verify transactions or computations without disclosing underlying data. If you'd like a template Groth16 verifier smart contract to use with your proof, you can find one in the Sindri Verifier Smart Contract reference.
For more advanced circuit development or for inspiration on the type of Circom circuits you can build, you can consult the Circom Circuits reference.
Conclusion
By following the steps outlined in this guide, you have successfully integrated Sindri right into your Remix development environment! This integration enables you to compile circuits, generate proofs, and enhance your smart contracts with advanced privacy and verification features.