Continuous Integration and Deployment
Automatically test and deploy your circuits with Sindri
Continuous Integration and Continuous Deployment (CI/CD) are crucial practices in modern software development, especially when working with complex systems like Zero-Knowledge (ZK) circuits.
Utilizing CI/CD allows developers to automate testing and deployment processes, ensuring that changes are validated and deployed seamlessly.
With the sindri CLI tool, integrating CI/CD into your ZK circuit development process is streamlined.
Projects initialized with the CLI automatically include a GitHub Actions workflow for CI/CD within your circuit project's repository.
This setup facilitates a robust development cycle, allowing teams to focus more on feature development and less on the mechanics of integration and delivery.
Moreover, incorporating pull requests into your workflow enhances collaboration and code quality, as changes are reviewed and tested before being merged, ensuring that your ZK circuits maintain high standards of reliability and performance.
Embrace the power of CI/CD with Sindri to elevate your ZK circuit development and making your projects more efficient, reliable, and collaborative.
Project Setup
Create a New Circuit Project
If you haven't used the Sindri CLI before, you should first check out Install the Sindri CLI to make sure you have it installed on your machine.
Once you have the CLI available, you can create a new circuit project using the sindri init command.
You can select the framework of your choice here (e.g. Circom, Gnark, Halo2, Noir).
# Create a new project in the `my-circuit` directory.
sindri init my-circuit

# Move into the new project and stay there for future steps.
cd my-circuit
? Circuit Name: my-circuit
? Proving Framework: Noir
? Noir Package Name: my_circuit
? Noir Version: 0.23.0
? Proving Scheme: Barretenberg
[10:22:01.851] INFO: Proceeding to generate scaffolded project in "/cicd/my-circuit".
[10:22:01.872] INFO: Project scaffolding successful.
? Would you like to initialize a git repository in "/cicd/my-circuit"? yes
[10:22:03.015] INFO: Initializing git repository in "/cicd/my-circuit".
[10:22:03.064] INFO: Successfully initialized git repository.
This will create a minimal circuit project in the my-circuit directory which proves that for the two inputs X and Y.
The generated circuit is intended to be a starting point for your own projects, and you can replace this with your own circuit implementation as you develop it.
We'll need to do some additional setup to enable CI/CD for this project before we dig into the generated workflow, but a .github/workflows/ci.yaml has already been created for you in the my-circuit project directory.
After we've set up the remote repository and added a Sindri API key, we'll circle back to this workflow to understand how it works.
Set Up a Remote Repository
We'll now create a GitHub repository for our project and set it as the remote origin for our local repository.
You can visit the new repository page to create the repository (see Creating a New Repository on GitHub).
Make sure that you don't check "Add a README file," specify a .gitignore template, or add a LICENSE at this stage because we already have a local repository that we'd like to push up and we don't want conflicts.
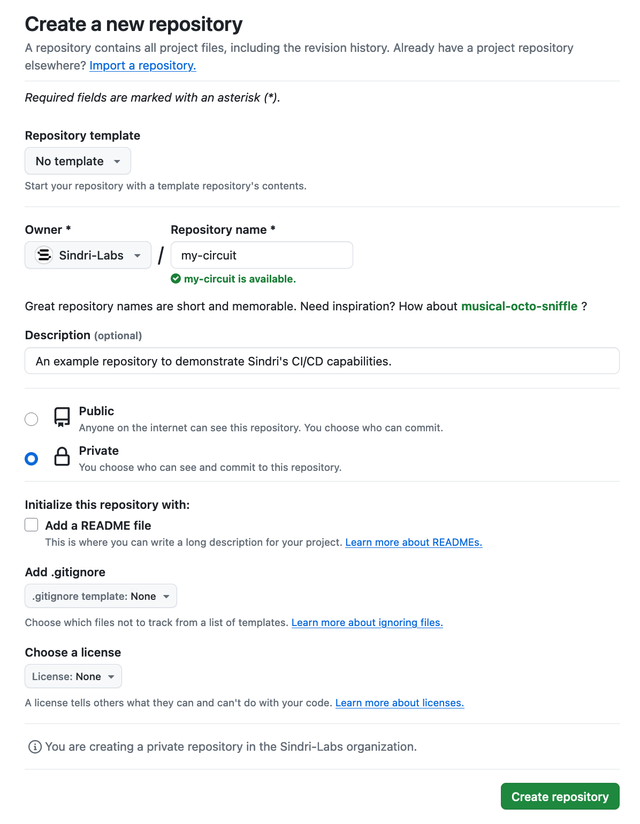
Create a new repository on GitHub.
After you click "Create repository," you should see a code block under the "…or push an existing repository from the command line" heading that looks something like this:
# Your GitHub organization name (and repository name if you changed it) will differ:
git remote add origin git@github.com:Sindri-Labs/my-circuit.git
git branch -M main
git push -u origin main
Now run these commands from within your my-circuit directory.
If everything worked correctly, you should see an output similar to the following.
Enumerating objects: 12, done.
Counting objects: 100% (12/12), done.
Delta compression using up to 12 threads
Compressing objects: 100% (7/7), done.
Writing objects: 100% (12/12), 2.01 KiB | 2.01 MiB/s, done.
Total 12 (delta 0), reused 0 (delta 0), pack-reused 0
To github.com:Sindri-Labs/my-circuit.git
 * [new branch]      main -> main
branch 'main' set up to track 'origin/main'.
If you run into authentication issues with GitHub, take a look at Adding a new SSH key to your GitHub account.
Add a Sindri API Key to Your Repository
You'll need to provide a Sindri API key to your CI/CD workflows to allow them to interact with the Sindri API. First create a Sindri account if you haven't already, and then visit your API Key Management page.
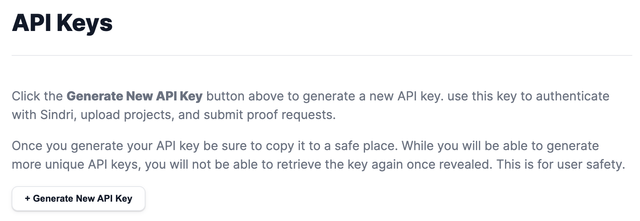
Click "Generate New API Key."
Click "Generate New API Key" to create a new key and give it an informative name so that you can remember what it's for and rotate it later as necessary.
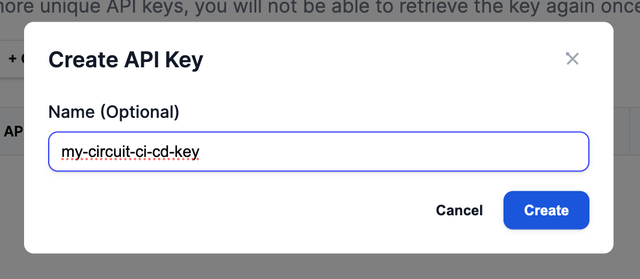
Enter a key name and click "Create."
Once you've created the key, click the "Copy" icon to copy it to your clipboard. Note that you won't be able to see the key again after you leave this page, so make sure to keep this tab open until you've completed the following steps.
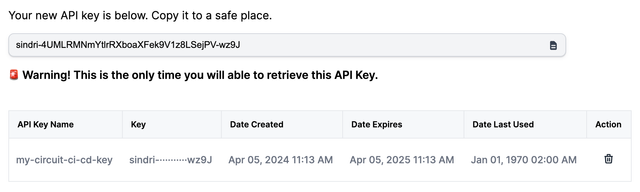
Copy your new API key.
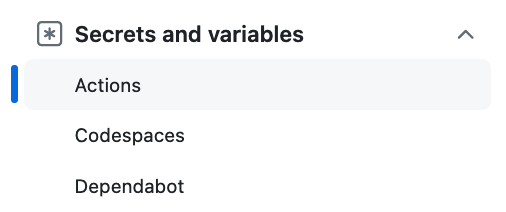
In your GitHub repository, you'll now want to navigate to the "Settings" tab, expand "Secrets and variables" in the sidebar, and then select "Actions" (see Creating secrets for a repository for more detailed instructions).
Then under "Repository secrets," click "New repository secret."
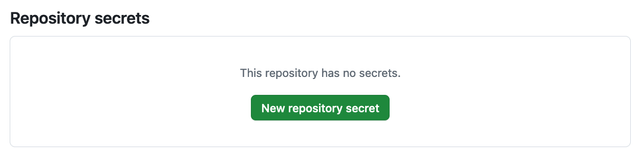
Click "New repository secret."
You'll need to name your secret SINDRI_API_KEY and paste your API key into the "Secret" box.
It's important to use this exact name because the GitHub Actions workflow expects this secret to be available.

Add your API key and click "Add secret."
After clicking "Add secret," you should now see your API key listed under "Repository secrets."

You're all set for CI/CD now!
Using CI/CD
Create a Pull Request
Now that we've set up our remote repository and added our Sindri API key, we can create a pull request to see the CI/CD workflow in action. Start by creating a new branch for your changes
git checkout -b first-pr-branch
and then make some small inconsequential change to the src/main.nr circuit file.
Here's an example adding a more specific TODO comment:
diff --git a/src/main.nr b/src/main.nr
index d0c45d6..5d1e8c4 100644
--- a/src/main.nr
+++ b/src/main.nr
@@ -1,6 +1,6 @@
 // Define the main function for the circuit.
 fn main(X: Field, Y: pub Field) {
-    // Put your code here...
+    // TODO: Implement custom circuit logic.
     // Enforce the constraint that X must equal Y.
     assert(X == Y);
 }
After saving your changes, you can commit them and push them to your remote repository.
git add src/main.nr
git commit -m "Add a TODO for implementing circuit logic."
git push --set-upstream origin first-pr-branch
When you navigate to your GitHub repository, you should now see a banner indicating that you've pushed a new branch and a button to create a pull request. Go ahead and click that button to create a new pull request.

Click "Compare & pull request."
Now you can customize your pull request title and description before clicking "Create pull request" to open the pull request.
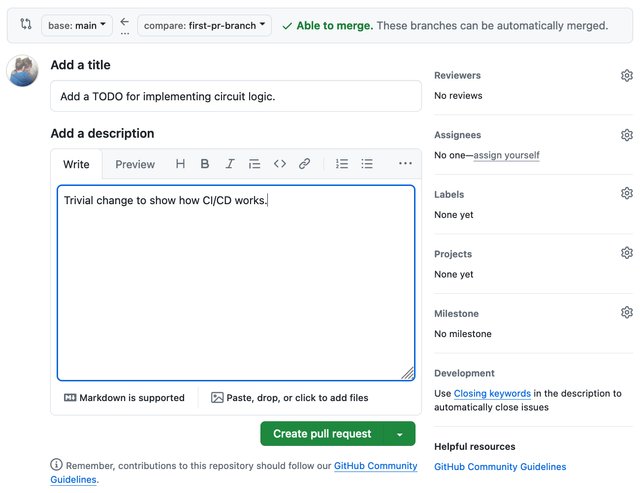
Click "Create pull request."
After creating the pull request, you should see the GitHub Actions workflow start running.
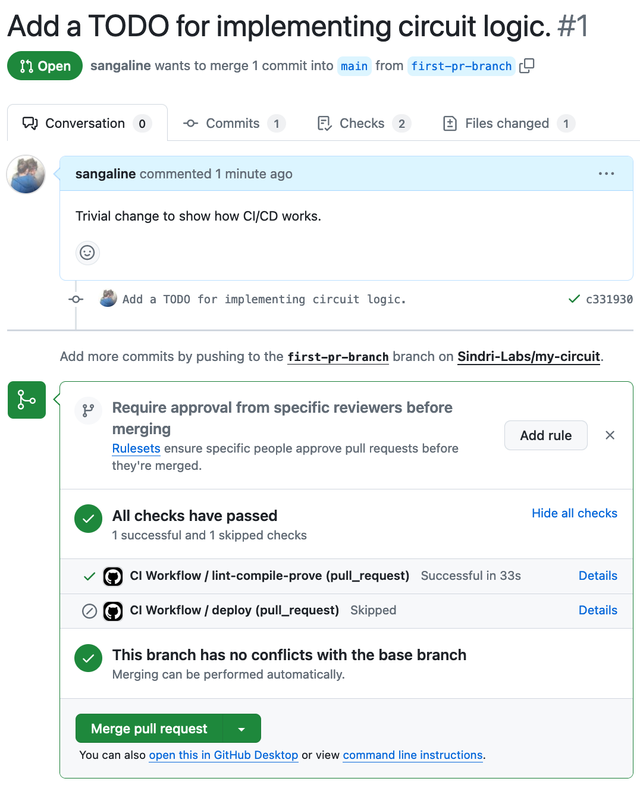
The lint, compile, and prove steps were successful.
The workflow that was run is defined in .github/workflows/ci.yaml in your project directory.
A slightly simplified version of the GitHub Actions workflow that was created for you and run is shown below (it's simplified to remove tagged releases which we'll cover in a later section).
on:
  push:
    branches: [main]
  pull_request:

jobs:
  lint-compile-prove:
    runs-on: ubuntu-latest
    steps:
      - name: Checkout Code
        uses: actions/checkout@v4

      - name: Setup Node.js
        id: setup-node
        uses: actions/setup-node@v4
        with:
          node-version: 20

      - name: Store the Current Branch Name
        run: |
          echo "BRANCH_NAME=${{ github.event.pull_request.head.ref }}" >> $GITHUB_ENV

      - name: Install Sindri CLI Tool
        run: |
          npm install -g sindri@latest

      - name: Lint Circuit
        run: |
          sindri lint

      - name: Compile the Circuit
        run: |
          sindri deploy --tag "${BRANCH_NAME}"
        env:
          SINDRI_API_KEY: ${{ secrets.SINDRI_API_KEY }}

      - name: Create and Verify a Proof
        run: |
          sindri proof create --verify --tag "${BRANCH_NAME}"
        env:
          SINDRI_API_KEY: ${{ secrets.SINDRI_API_KEY }}
You can see here that the steps leverage the power of the Sindri CLI by using the sindri lint, sindri deploy, and sindri proof create commands to lint, compile, prove, and verify the proof for the circuit.
If any of these steps fail, the workflow will fail, and you'll see a red X next to the failed step in the GitHub Actions interface.
You can optionally configure branch protections to disallow merging pull requests that don't pass these checks.
An important point to note is that the --tag "${BRANCH_NAME}" flag is used when deploying and proving the circuit.
This flag allows you to deploy and prove the circuit with a tag that matches the branch name so that you can test your changes in a more isolated environment.
A typical convention is to use the default latest tag as the most recent production version of the circuit and to use the branch name as the tag for testing changes.
Merge a Pull Request
Proceed to merge your pull request by clicking the "Merge pull request" button. You'll then have an opportunity to customize the merge commit message and confirm the merge.
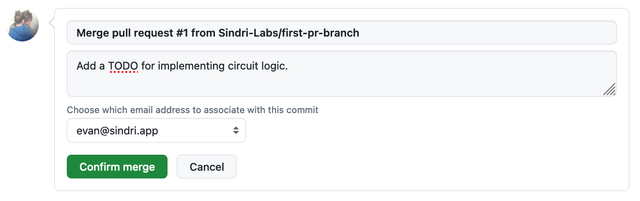
Click "Confirm merge."
After merging, the Continuous Deployment (CD) portion of the workflow will run. You can view the status of this workflow by clicking on the "Actions" tab in your repository and selecting the most recent workflow.
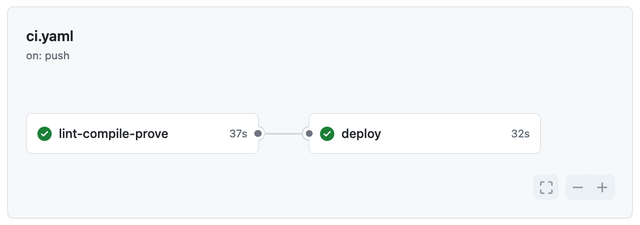
Both workflows ran successfully.
The deploy job is also defined in .github/workflows/ci.yaml and a simplified version of the contents are shown here.
deploy:
  runs-on: ubuntu-latest
  if: github.event_name == 'push' && github.ref == 'refs/heads/main'

  needs: [lint-compile-prove]
  steps:
    - name: Checkout Code
      uses: actions/checkout@v4

    - name: Setup Node.js
      id: setup-node
      uses: actions/setup-node@v4
      with:
        node-version: 20

    - name: Install Sindri CLI Tool
      run: |
        npm install -g sindri@latest
    - name: Deploy the Circuit
      run: |
        sindri deploy
      env:
        SINDRI_API_KEY: ${{ secrets.SINDRI_API_KEY }}
This workflow triggers on new commits to main and depends on the lint-compile-prove job completing successfully.
It then uses the sindri deploy command to deploy the circuit to the Sindri platform using the default latest tag.
This means that every merged pull request will update the latest tag with the most recent changes, so you can always be confident that the latest tag represents the most recent version of your circuit.
Create a Tagged Release
Using the default latest tag is convenient while you're actively developing your circuit, but you typically want to use a more specific tag that won't change for production use cases.
To do so, you can navigate to the main page of your repository and click on "Create a new release" under the "Releases" section of the sidebar on the right (see Managing releases in a repository for more detailed instructions).
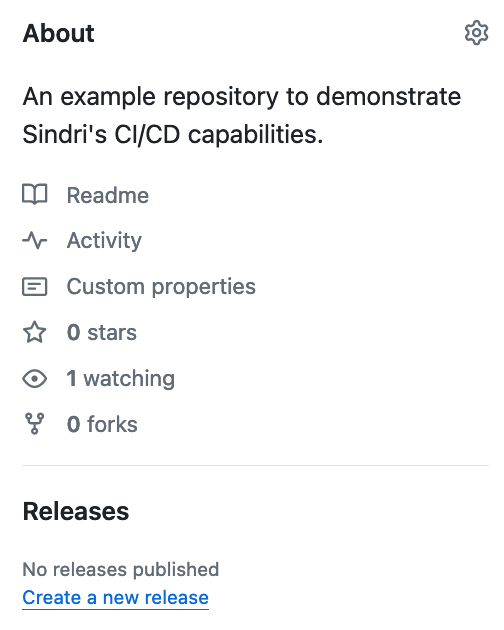
Click "Create a new release."
Now select "Choose a tag," enter "v1.0.0" as your tag name, and click "Create a new tag."
You can pick whatever version number you want here, but it must start with v (for "version") in order to trigger the workflow.
Then click the "Generate release notes" button to prepare your release notes based on the commit history.
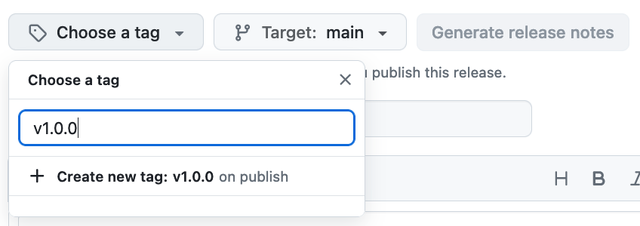
Enter "v1.0.0" and click "Create a new tag."
You can make any desired modifications to the release notes before clicking "Publish release" to create the tagged release.
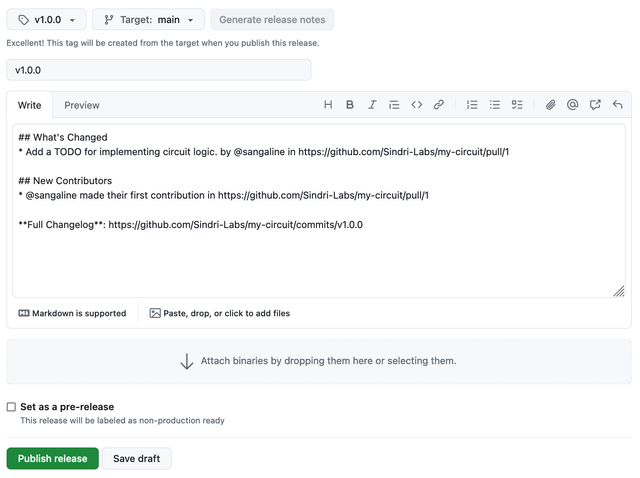
Click "Publish release."
Navigate back to the "Actions" tab in your repository to see the new workflow that was triggered by the creation of the tagged release.
Click into the workflow to track the progress of the deployment.
This should look very similar to what we saw earlier with continuous deployment: the lint-compile-prove job runs first, followed by the deploy job if the first job completes successfully.

Our v1.0.0 tag was deployed successfully.
The primary difference here is that the deploy job uses the latest tag when a PR is delivered to main, but it uses the tag specified in the release when a tagged release beginning with v is created.
You can then refer to this specific tagged version of you circuit when generating proofs to ensure that you're using the version of the circuit that you expect (see Circuit Identifiers for more information).
For example, you could use the v1.0.0 tag in the TypeScript SDK to create a proof for this specific version of the circuit like so.
import sindri from 'sindri';

// Prove using the `v1.0.0` version of your `my-circuit` circuit.
const circuitIdentifier = 'my-circuit:v1.0.0';
const proofInput = 'X = 5\nY = 5';
const proof = await sindri.proveCircuit(circuitIdentifier, proofInput);
Conclusion
The Sindri CLI's scaffold projects include a GitHub Actions workflow that automates linting, compiling, proving, and deploying your circuits out of the box. It's ultimately up to you how you want to use tags to manage your circuit versions, but the conventions we've outlined here offer a reliable framework for managing your circuit development and deployment. Feel free to customize the workflows to suit your needs, and don't hesitate to reach out to the Sindri team if you have any questions or need assistance with your CI/CD setup.